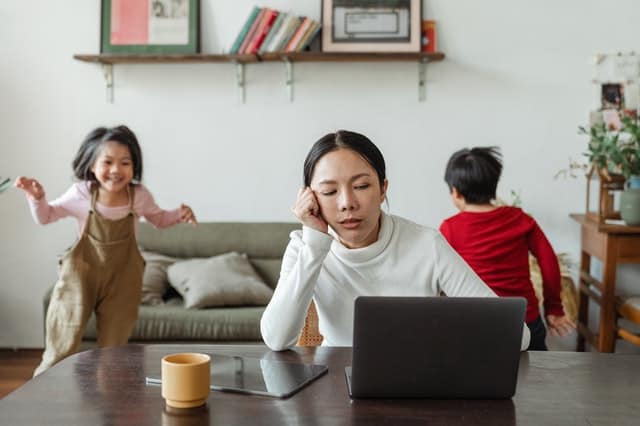
Are you feeling overwhelmed when you go to organize your homeschool supplies? You know it needs to be done but you don’t even know where to start? It can be a daunting task, but it doesn’t have to be! In this blog post, we will discuss 11 easy steps that will help you get your homeschool books and supplies organized from start to finish!
We will be working on a large overhaul of your homeschool space. This journey may not be straight forward. You may have to back up or repeat steps while you are organizing. It also may work better for you to change the order you do things. Just take this as a framework.
With this set of steps, we aren’t looking for perfection. Homeschooling moms need function above all, so that is our goal. If it looks good too, that’s icing.
Take a deep breath and follow these tips. Soon you’ll be able to relax in your homeschool space and enjoy your homeschool year!
*Note: This post contains affiliate links, which means I receive a small commission, at no extra cost to you, if you make a purchase using the link. Please see my disclosure for more details.

1. Assess and plan
When working on any big project, it’s a good idea to assess how things are currently going and plan how you want them to go in the future. So this is also the first thing to do when organizing homeschool supplies.
The area you are working with may be a dedicated homeschool room, and it may be a corner of your living room. Both are equally important. Many homeschoolers don’t have a whole room to work with – I don’t.
So use the space you have. Take advantage of surrounding areas as well. You may have to be a little industrious with your space if it is small. Organization is even more important then.
Think about the big picture and ask yourself these questions about your homeschool space:
- What do I love about our current space?
- What is working?
- What isn’t working?
- Where do we usually learn?
- Do we have a good place to write?
- Is there a nice place to read?
- Do we have enough storage/shelves?
- Can we easily access everything?
- What needs are we meeting well in this space?
- What needs are we not meeting in this space?
- Do we have items that are no longer used?
- What do we need to improve?
- How can we make this more functional?
- How can we make this more comfortable?
- How can we make this more inviting?
Now let’s take a short moment to dream a bit. Think about your dream homeschool space. List some aspects you’d love to include in your own space.
- Are these achievable in your current space?
- If it’s not all doable, are there any practical ideas you can use from this?
For instance, your dream room could be all white furniture, carefully organized with a wall full of beautiful shelves. Perhaps you could get one shelf that’s white. Or paint the walls. Or get some nice baskets this year. Start with one aspect.
If you need some inspiration for your homeschool space, check out these posts:
- Practical and Simple Homeschool Room
- Homeschool Room Tour
- Homeschool Places and Spaces
- 12 Homeschool rooms
Write out all your thoughts to inspire you as you work through the next steps of organizing your homeschool space.
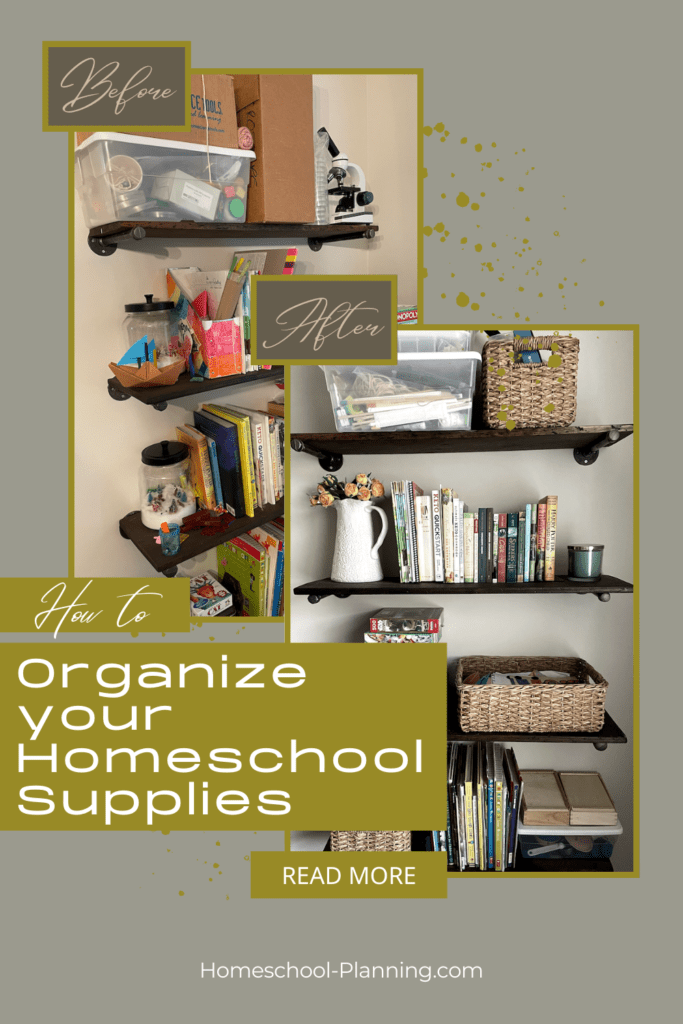
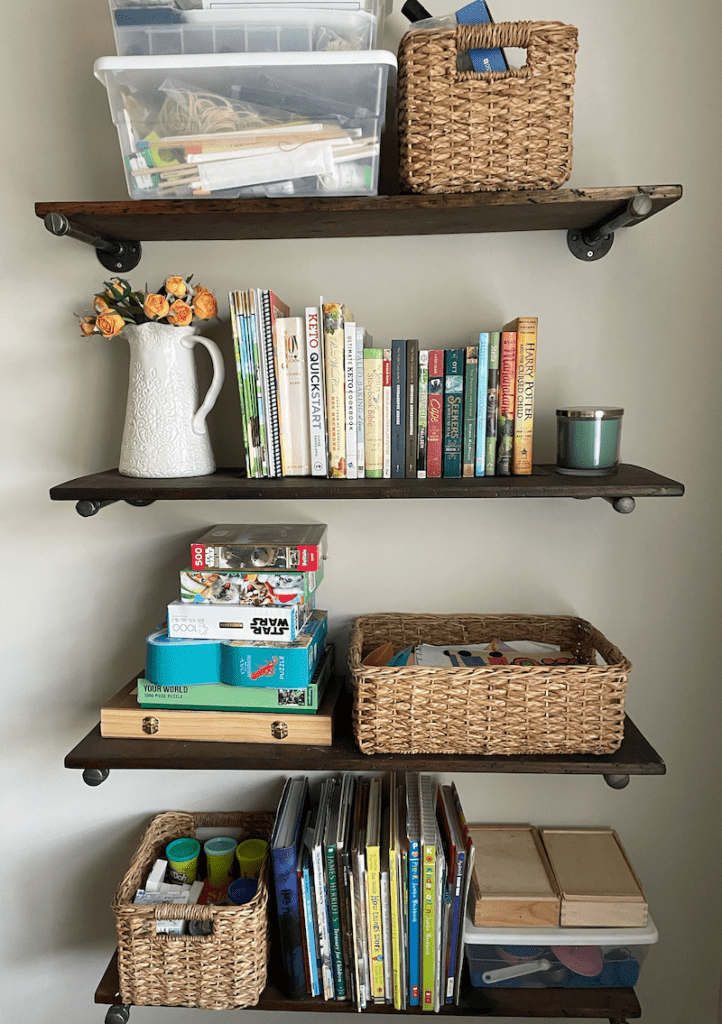
Before and After pictures
A great thing to do with any big project is to take before and after pictures. It’s so helpful to be able to visualize the change.
It doesn’t always feel like a big deal when you’re finished, because you’ve seen the whole progression. But the stark contrast of before and after photos can be so validating after all your hard work.
Here’s an example of some of our shelves and how I got them organized and looking much better! I’m not looking for perfection, but instead I want function and ease. I feel like I have that.
If you do the work, you can find that too!

Now that you have an idea of what you want your space to look and function like, let’s dive in to the work.
2. Pull out and sort
To really dive in to the work of homeschool organization, start by pulling out everything and sorting it. You could go through this one shelf at a time, or you could move everything into one big pile and sort into smaller piles/bins. Whatever works for you.
How you go about this could also depend on how much time you have to work through each step of this plan. No judgement if you take your time.
The first way I like to sort through things is to designate each item to one of these categories. Then I physically put it in a pile or plastic tote/bin with that designation.
- keep
- get rid of
- trash
- move elsewhere in the house
- maybe (come back to this)
If that is too many piles to start with, you could just do a keep pile and a don’t keep pile. Then come back to each of those piles later and divide further then.
If you are like me and have a bit of trouble making decisions sometimes, put those items in to a maybe pile to come back to. But you have to come back to it. This pile is not permanent. By the time you have gone through everything, this pile should be empty.
We will come back to the keep pile in a bit. So set all that aside. Or leave it on the shelf for now.
Trash includes anything that is broken, no longer works, or is just not usable. Put it in the garbage. It has done its service.
Through your sorting you have probably come across many things that don’t belong in this space. So these should be put in the move pile. These will be moved to their correct long term spots in the next step.
If the item is better than trash, but you don’t need or use it anymore, these items should be put in the pile to get rid of. For now, just stick it in a bin. We will deal with this in the next step.
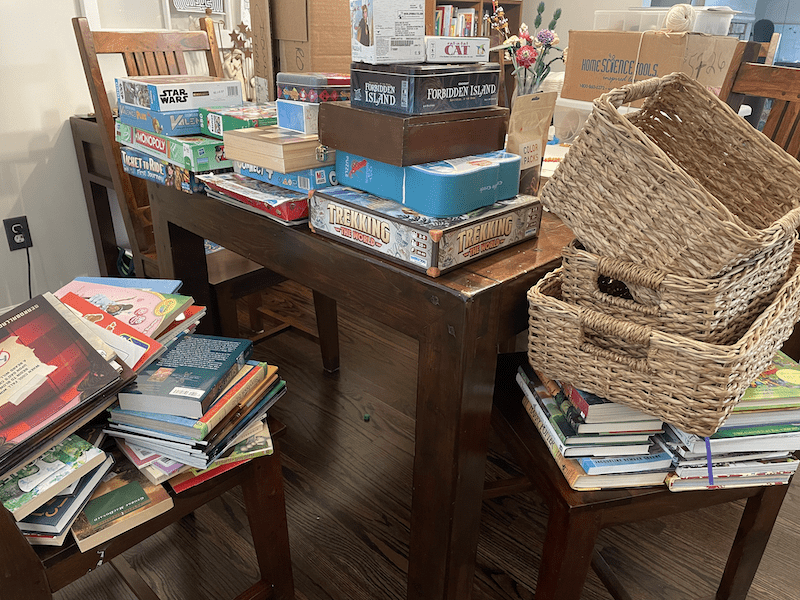
3. Donate, sell, move
To be sure your get rid of pile actually goes away, I have included this as step 3. Everything you have designated to trash, donate, sell or move to another part of your house should be taken care of NOW. Do not pass go, do not collect $200.
List items for sale. Put your box of items in to the car to drive to town. Actually move items from the wrong spot to the right spot in your house. Take the trash out. Do it today.
You may even decide that selling is too much work at this point. It’s ok, give it away. If it’s truly valuable, maybe give it to a friend. Or donate for a tax break. Generosity is a good thing.
If you’re anything like me, these are things that you are tempted to just set aside. Maybe you’ll set them in a pile in the garage to deal with later. Then next year as your husband is cleaning out the garage, you’ve been found out. Don’t let that happen.
You have to deal with it sooner or later. Make that day today.
4. Categorize what you keep
Now we get back to the keep pile. There are many ways you can categorize and organize these homeschool supplies. My two favorite ways to organize is by category and by time. We’ll hit each of these separately.
I like to just place things into categories or piles as I go. But you might prefer to write it all down. That’s totally fine!
Organize by category
Many organize their homeschool books and supplies by category. This is really about how the item is used. What you use it for in your homeschool. This may be broad categories, like the person who uses it, or it could be by function, like art supplies.
Organizing homeschool materials in this way can help you know where things are and where they should be put away.
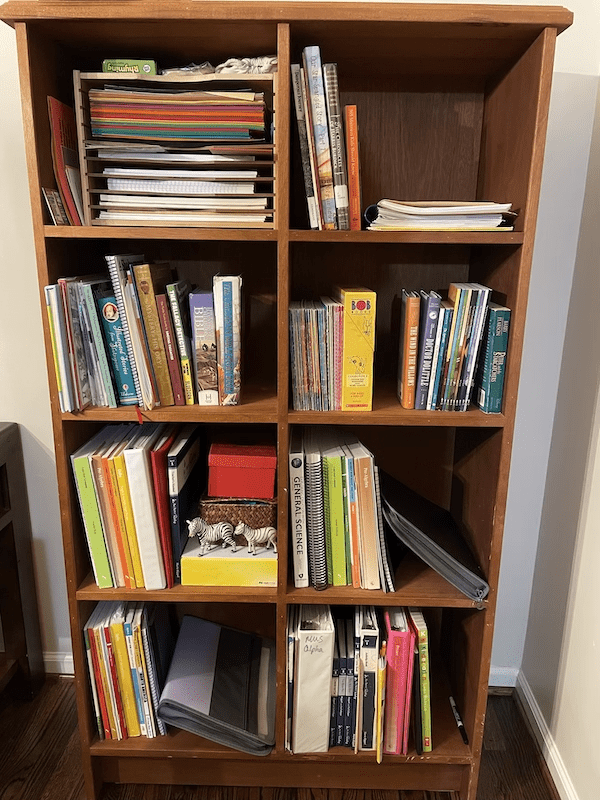
An example of how I have organized some of our books by category is in this picture of our bookshelf. Each cubby has a general category. Top to bottom, left to right: Paper, Morning Time, Future, Readers, Teacher books with manipulative, Student K, Student J, Student B.
Here is a list of general categories you could use to organize homeschool supplies
- Teacher books
- Answer keys
- Student books
- Science supplies
- Art supplies
- Flashcards
- Manipulatives
- Library books
- Reading together
- Morning Time
- Free reading
- Assigned reading
- Reference books
- Games
- Toys
- Writing utensils
- Adhesives (glue and tape)
- Paper
- Individual students
- Supplemental books
- Finished school work
- To be graded/looked over
- Extra notebooks
- Worksheets/printables
- Activity books
Organize by time
Another way to organize your homeschool items would be to organize them by time. This basically means how often they are used.
There is no reason to have items that you use every day cluttered up with items you are no longer using until next year, especially if you are in a small space.
Items you are not using right now could be placed in a longer term storage area. Like the attic, garage, storage room or closet. This could be things like books you will use again with a younger sibling. It’s like putting away the winter clothes.
Items you use every day should be all together and nearby so they are easily accessible. If you have reference books that you don’t often use, they don’t need to take up space next to your desk area. These could be placed a little further away.
Here are some general ways you could categorize by time:
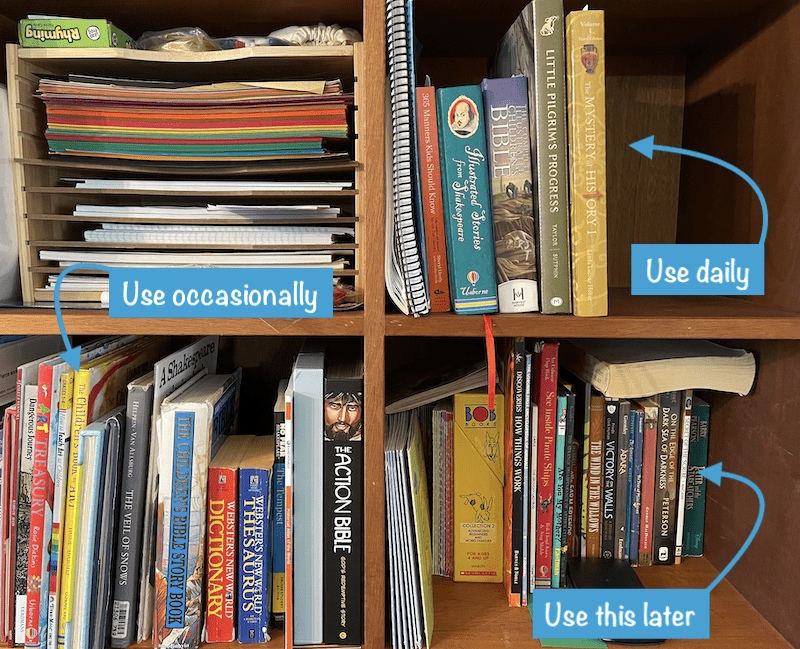
- Use daily
- Use often
- Use weekly/monthly
- Use rarely but need accessible
- Use later in the year
- Use in the future (consider storing)
You may also find that you use both categorization systems together. For instance, you may have your books all arranged by categories and by person – teacher books, student books, morning time books. Then within those categories you also arrange by time. The teacher book you use every day to teach from may be toward one easily accessible side of the shelf, while the answer keys may be a little deeper in the shelf.
Here is a closer look at that same bookshelf from above and how I have organized it by time. The books toward the right I tend to use more often than those on the left.
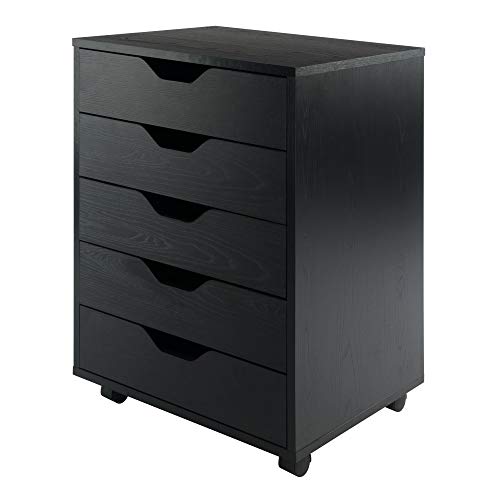
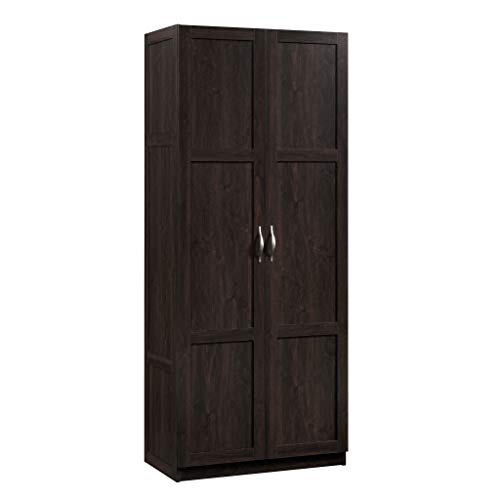
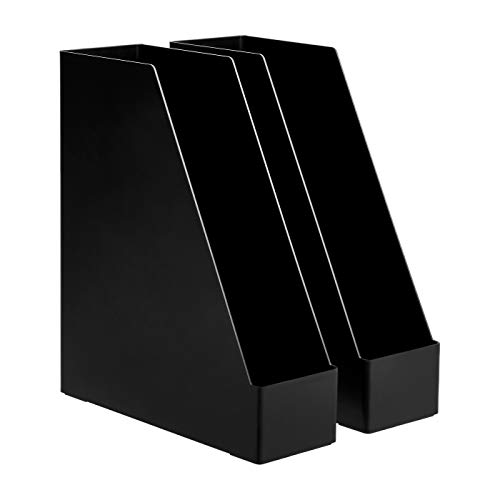
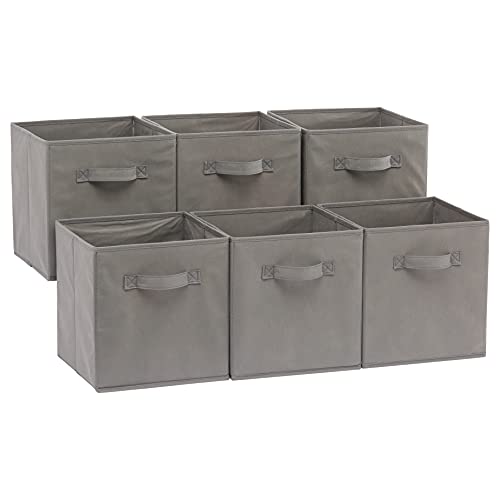
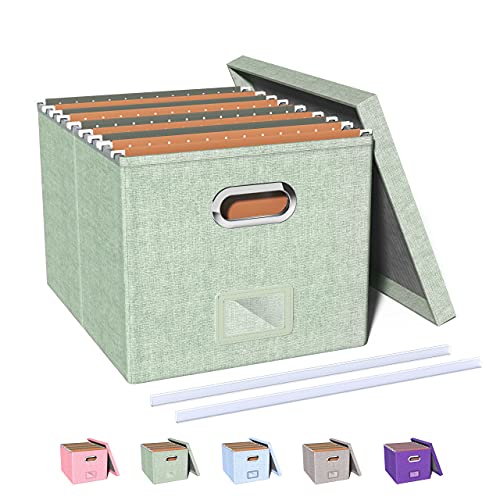
5. Decide on how to store
Now that you have gone through everything and know what actually belongs within your homeschool space, it’s time to decide on how to store it. Take the plans you made earlier and consider them while looking at the items you have decided to keep.
- How do you want to include your plans into your space?
- Do you have a good place to write?
- Do you have a nice place to read?
Think about the categories you have made when organizing all your books and supplies. Now think about where each of those categories will go within your space. Here are some questions to help you think it through:
- Where will you store your books and curriculum?
- Is there enough space for your books and curriculum?
- Where will you store your other homeschool supplies?
- Is there enough space for your supplies?
- Do you need more organizers for anything? (baskets, etc.)
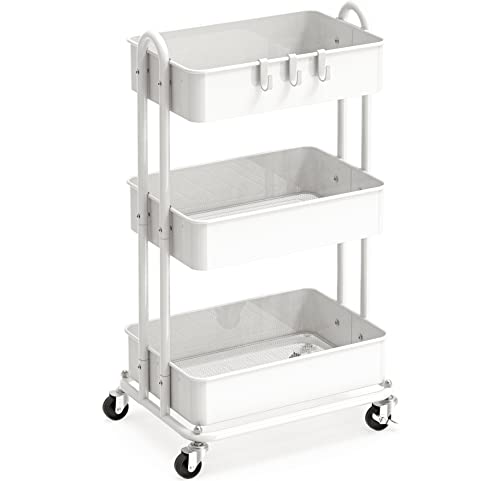
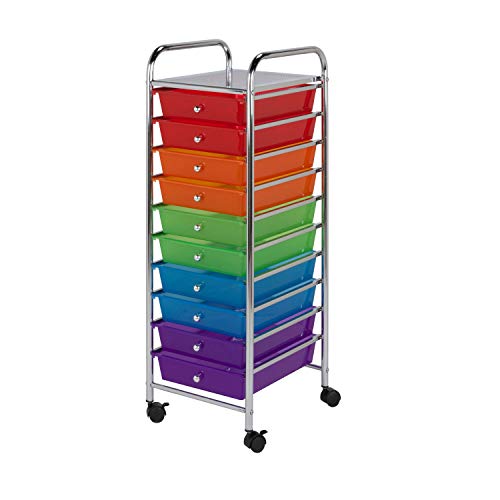
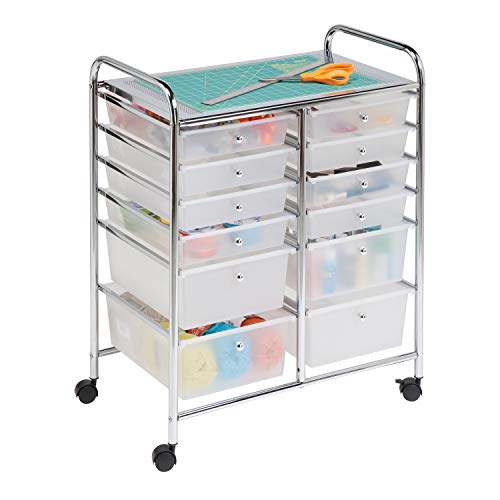
Over the years I have used many different items for storing our everyday school items. It has changed over the years as our needs changed and we gathered more kids and more homeschooling supplies:
- open shelving on the wall
- a built-in cabinet (with and without doors)
- file cabinet
- milk crate with file folders
- a cubby shelf system
- baskets
- a small closet
- a rolling cart
- a small bookcase
- a plastic tote (temporarily)
If you need some ideas of ways to organize your materials, here are some storage ideas for homeschool supplies:


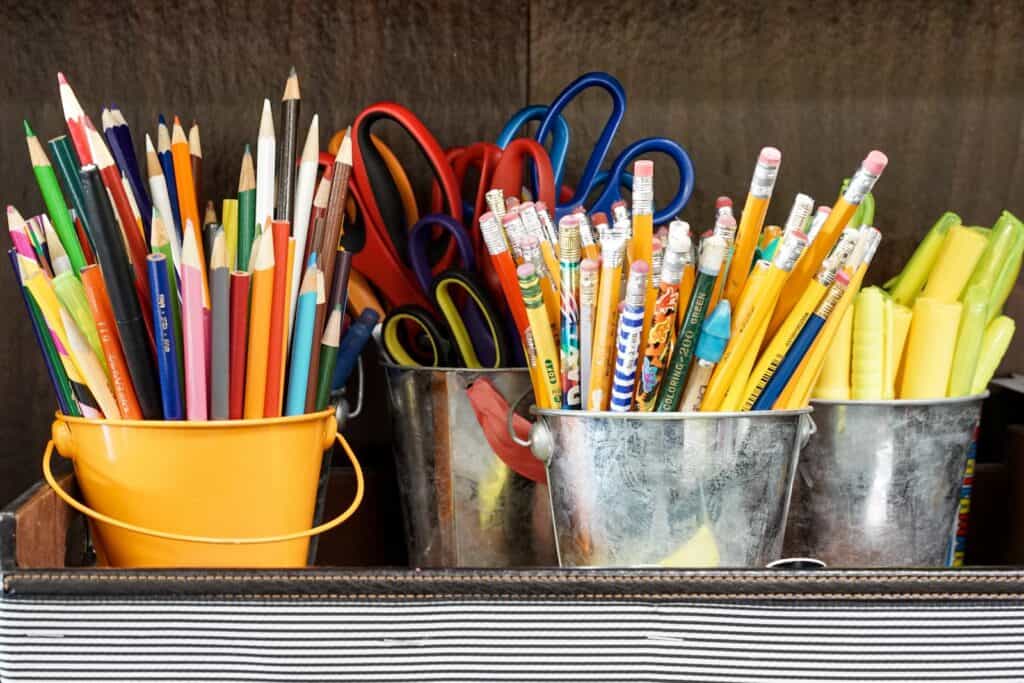
6. Buy what you need
Now that you know what you have, you may be noticing there are a few gaps in what you need. Now is the time to buy what you need. Perhaps you have discovered you have a lot more books than bookshelves. Or all of your markers were dried out. Go ahead and search for these things now.
Don’t go all crazy now. Remember, only buy what you actually need and will use. You’ve gone to a lot of trouble to get all the unnecessary things out of your space. So don’t clutter it back up with things just because it’s a good deal.
Homeschool Supplies List
I like to think that all you really need to homeschool is a love for your kids and a library card. But most of us have more than that. If you’re not quite sure what you else may need to homeschool, here is a basic list to get you started:
- Library Card
- Curriculum/Workbooks
- Teacher books
- Reference books (dictionaries, etc.)
- Readers
- Educational toys/games
- Paper of all kinds
- Math manipulatives
- Library books
- Maps/globe
- Table or desks
- Comfy chairs
- Book storage
- Supply storage
- Science equipment and supplies
- Baskets and other organizers
- A good planner
- Pencil/Pens
- Paints/paint brushes
- Markers
- Colored Pencils
- Crayons
- Scissors
- Tape
- Glue (sticks)
- Stapler
- Erasers
- Ruler
- whiteboard/chalkboard
- Computer/Internet access (optional)
- Printer (optional)
- Decor (optional)
7. Position the big stuff
You’ve gotten through all the hard stuff! All that’s left to organize your homeschool space is to arrange everything within your space!
So first thing is to get to all the big stuff in your room. If you are painting, definitely start there.
Next is all the furniture. Bookshelves, cabinets, carts, chairs, desks, tables, and anything else that holds things. Be sure to wipe down and clean any furniture if needed. It’s much easier to clean it when empty!
If you are hanging large objects on the wall, you may think about getting those up now. But they can also wait if you’d rather.
You may want to visualize the space before you move everything around. If so, you could draw out a floor plan. This may help you ensure things will fit where you want them to go. Then you won’t be moving things around over and over.

8. Arrange books and curriculum
Now that all the furniture is in the right places, you can start loading it all up! So get all those books in order and arranged on your shelves.
Don’t forget about the categories you already arranged your books into. If you’ve forgotten and you wrote them down, look back at that. If your piles have been lost, just do it again. Or maybe you’re a rebel and decided not to categorize your books. You should do it now. You’ll thank me later.
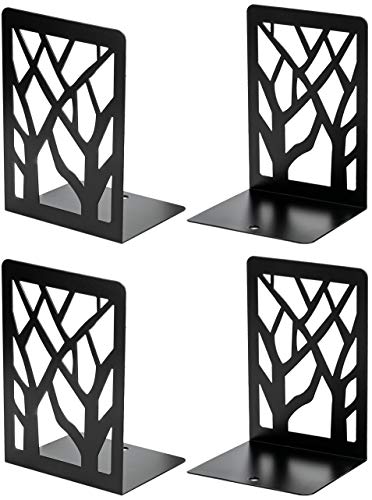
You may like to use baskets or bookends to hold your books. Set up these items as you go. These can help keep obvious sections within your books and curriculum. They also can give you a few more places to set books other than just straight into piles on the floor.
If you want to really go wild and organize a full library of books, check out this post from another homeschool mama about how she organizes her books. It’s pretty fab!


9. Organize supplies and decor
Now there’s one last big step, and that is to arrange everything that is left into your homeschool room. Continue to remember to arrange within categories.
Things you use daily may best be put on the table where you work, or very near. Things like science supplies could be kept further away from your work space – ours are kept on the top shelf.
All the fun baskets and organizers you may have are going to be put to use now. If you can get your supplies organized and tidy now where everything is easy to access, keeping your space clean will be significantly easier!
I’m speaking from experience when I say that using baskets and other organizers can really quickly improve the look and tidiness of an area. They don’t have to be super nice. Even cheap plastic totes from Wal-mart or Target can drastically improve both the organization and look of a space.


And don’t forget about decor! If you want any pretty nature posters, calendars, maps, or any other wall hanging and decor, get them out now and make your space look extra nice! Etsy has some really nice options! Or here’s some from Amazon:

![2 Pack - World Map Poster & USA Map Chart [Purple] (LAMINATED, 18" x 29")](https://m.media-amazon.com/images/I/51mXsPN+PFS._SL500_.jpg)


10. Designate a place for everything
It’s important to be sure there is a place for each individual homeschool supply within your collection. If not, it will encourage clutter. Clutter duplicates like bunnies.
Knowing that each item has a home will help you know where to put things away later. There will be no guessing.
Before you can declare you are finished setting up and organizing your homeschool supplies, you must be sure there is a place for everything.
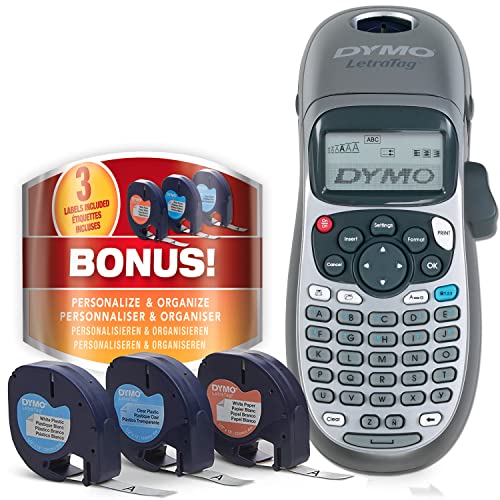
You may even want to label these spaces for some things, though that isn’t required. It will, of course help everyone in the family to continue with your organization easily. I have been known to use masking tape and a sharpie so you don’t have to be crazy and buy a label maker.
But if you want one, here ya go. I’m including other options for those of you who are super classy like me:

One more thing to remember is that each time you bring in a new item during the year, it too must either replace an already existing item or be given a new place. Or it too will just be laying around in any random spot, attracting more friends to make as clutter.
11. Put it away
After all your hard work organizing your homeschool space, it would be a shame to let it all go. So be sure you spend some time maintaining your space and putting things away.
If everything has a place designated, there should be no reason for things to not easily get put away. Encourage your kids to also help and put their homeschool supplies away after use.
If you bring in more stuff throughout the year, immediately make a space for that item or it will become clutter.
A good way to help control some of the mess is to set up a short daily clean up time. You could set a timer for 10-15 minutes in the afternoon or evening. Then the whole family spends that time cleaning up and putting things away. This way, not all of the responsibility lies on one person. It can also be difficult to remind your children after each item is used, so one cleaning time can help.
Of course, remember that your home is meant to be lived in. It’s ok for it to look that way. It’s not a museum and you do have kids. Kids make messes.
Don’t compare your house to other families’ houses. Make your house loved and unique and lived-in. Allow your family to enjoy living there.
Conclusion
Now that you’ve decluttered and organized your homeschool space, it’s time to enjoy it!
A well-organized homeschool space can make a big difference in your homeschool. It can help you feel more relaxed and less stressed, and it can provide a better learning environment for your children. Spend some time each day keeping your space tidy, and you’ll be able to enjoy the benefits of an organized homeschool for years to come.
If you have any questions or tips on organizing your homeschool space, please leave a comment below. I’d love to hear from you!
Related posts
Organizing tips for homeschoolers