In today’s busy world, keeping track of all our commitments and responsibilities can be overwhelming. Fortunately, there are many great planners available to help us stay organized and on top of things. But not all planners are created equal, and sometimes the pre-designed layouts may not meet our specific needs. So we customize our planner!
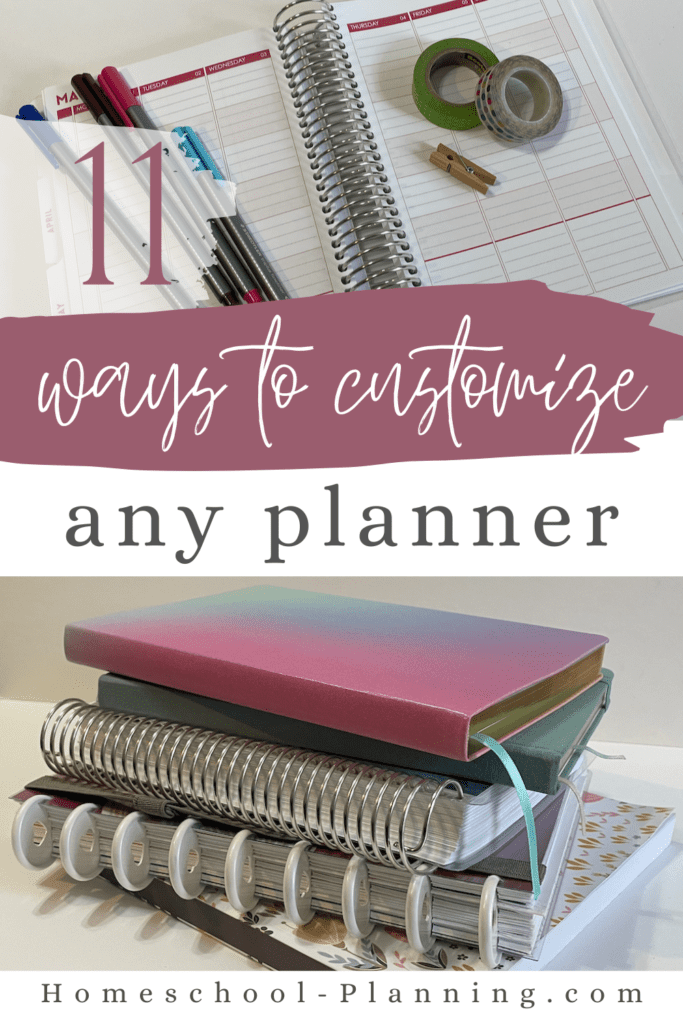
In this blog post, we’ll explore 11 brilliant hacks to customize a planner to fit your needs. No matter which planner you choose, customizing it can help you take control of your time and achieve your goals. So let’s dive in and discover how to create a planner that’s uniquely yours!
*Note: This post contains affiliate links, which means I receive a small commission, at no extra cost to you, if you make a purchase using the link. Please see my disclosure for more details.
Why customize?
Why should you customize your planner? The basic answer is so to personalize it to fit your needs. Here are some other reasons:
- Save time
- Increase productivity
- Reduce frustration
- Decrease guilt
- Improve
- Add some color
- Make it easier to use
- Help you enjoy using it
- Lower stress
- Improve thinking
When looking for a planner, it’s quite easy to get caught up searching for the “perfect planner”. A planner is supposed to help you get organized and save you time, yet we spend so much time just trying to find it. Will you ever find the perfect one? Maybe.
Instead of searching and wasting time, you could use a planner that mostly works and customize it on your own! This will help save you time and allow you to actually use your planner.
Sometimes there are too many pages and we feel intimidated – so take them out! Perhaps the sections are labeled wrong – so change them.
Sometimes I feel guilty for not using it “as designed”. For choosing the “wrong” planner, or for not using it “right”. I’d start feeling like obviously others are more organized than I am, why do I even try?
Maybe you’ve felt things like that too. But what I have learned is there is no right way to use a planner, and being organized is personal. There is no elite club of perfection we have to gain admission to in order to finally be an organized person.
Using a planner is a personal experience and should be personalized to fit your needs. Don’t be afraid to do the customization!

What planner do I choose?
There is no one planner that is perfect for every person, as we all think and approach the world differently. So I can’t say which planner will work for you. But I suggest choosing the planner that appeals to you.
Every planner can be adjusted and customized, which is the whole point of this post. So start with a planner that you feel is a close fit for you and will be easily adjustable to fit your needs. Some more expensive planners will allow customization before you get them as well, which for some is preferred.
You could start with a basic planner from Target or Wal-mart, or choose a specific homeschool planner that you are drawn to. There are also several homeschool planners you can find on Amazon.
Try not to stress over the base planner you use, but find one you can easily adjust to fit your needs. Remember the best planner is the one that you will use!
Speaking of using your planner, if you’re needing some tips on that, read about how to use a planner here.
11 Brilliant Hacks to Customize Any Planner to Fit Your Needs
1. Remove pages you don’t need
Many times I have used a planner with pages I didn’t use. And I’d feel guilty. So rather than torturing yourself with extra pages, just pull them out!
There is less stress in minimalism. Just because it came that way, doesn’t mean it has to stay that way!
When you ordered the planner, you may have loved the idea of planning your holidays and vacations. But when it comes time, you don’t use those pages. Remove them.
You may think you are so busy and need a daily planner page, but later decide a weekly spread has plenty of room for your needs. Take out all the dailies! There’s no need to carry around all those pages if you won’t use them!
But what I have learned is there is no right way to use a planner, and being organized is personal. There is no elite club of perfection we have to gain admission to in order to finally be an organized person.
2. Skip sections that aren’t helpful
Planners are made of many sections, large and small. Our intentions may start off good and quickly lead to discovering things we will never use in our planner. So if you come across a section in your planner that doesn’t work, skip it a don’t look back.
Last year I bought a planner and had all the intentions of figuring out this housecleaning while homeschooling thing. So I added a whole section with that in mind. It had cleaning tips, house project lists, chore lists, all kinds of really great pages! Have I used them? Nope!
My house is still not always clean. I’ve just had to come to terms with the fact that I can’t do it all. So for me, that section is not going to help me be more productive, it will likely only remind me of my failures. So I removed most of that section from my planner.
You could also take out smaller sections, like one part of a page. Ripping it out may not be aesthetically pleasing, but you could cover it up. Stickers, post-its, taped on paper…you get the idea.
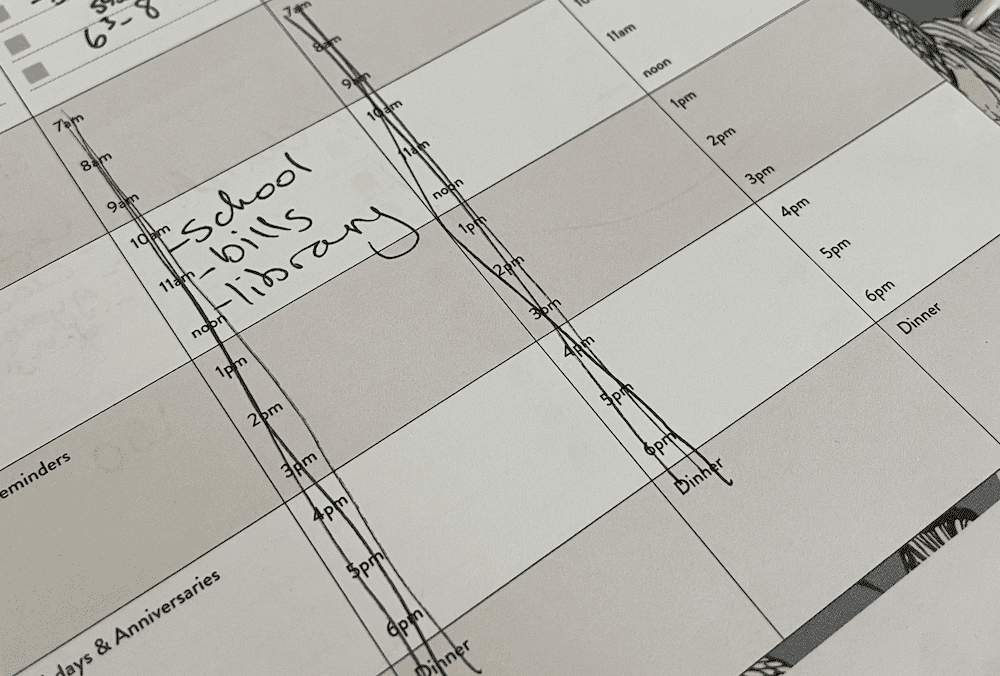
One planner I’ve used before had a daily schedule section. Like with times listed. At first, I decided to try it. But very quickly came to terms with the fact that I will never be a highly scheduled person, at least not while I’m homeschooling my kids. Routines work great for us.
So I stopped trying to fit into that box. I used that section for extra notes, reminders, and to-do lists. I didn’t even bother with covering up the times, though I did often scribble them out!
If a section is not working for you, makes you feel guilty, or adds stress to your day, then just don’t use it! Take it out, skip it, cover it up.
3. Change the binding
There are so many ways to bind books these days. They each have their advantages. But just because a planner comes with a certain type of binding doesn’t mean you can’t change it.
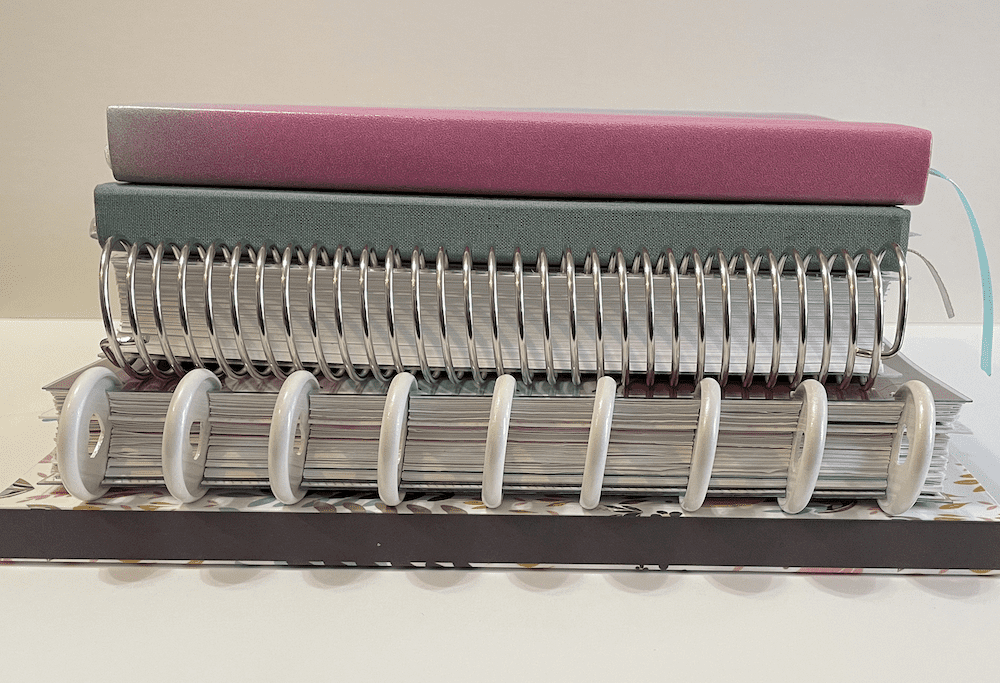
Here are some common ways planners are bound, though the names may vary:
- 3-hole punch/notebook
- Spiral/coil bound
- Perfect binding (like a soft cover book)
- Case binding (like a hardcover book)
- Wire-O (double wire spiral)
- Comb (plastic but like a spiral)
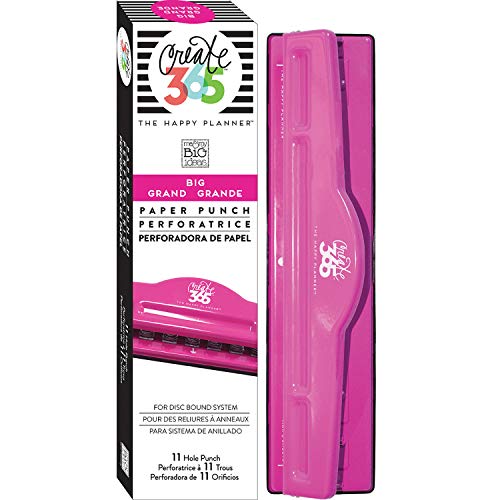
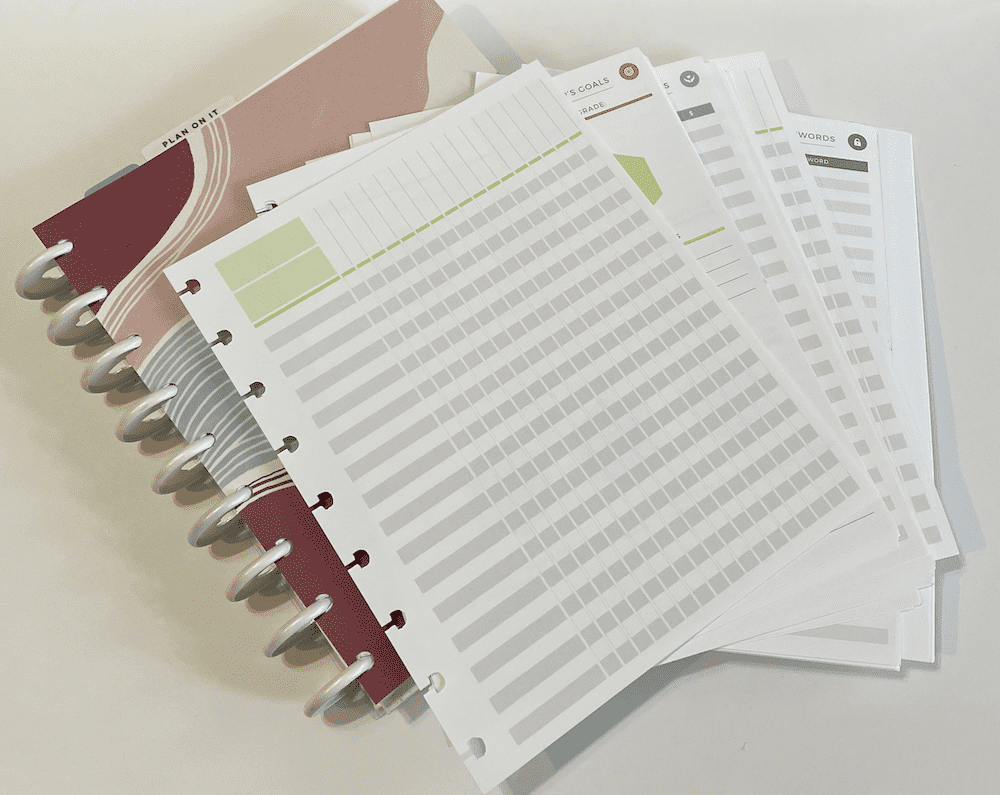
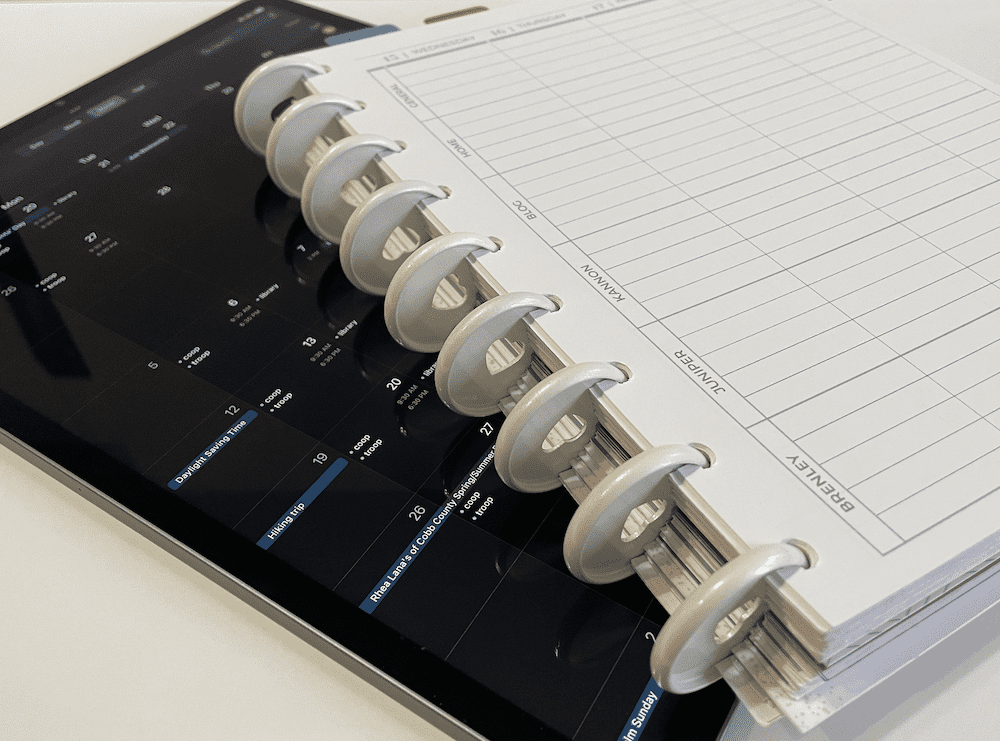
- Disc binding (made popular by Happy Planner)
One of the best decisions I made with my planner this year was to use disc binding. With disc binding, pages are punched in a special way and individual discs are inserted. With this binding, you can easily remove individual pages from the binding and move them around at any point. Adding or removing sections throughout the year.
I have heard some critics say you should only use binding options for your planner that keep all the pages in the same spot all year. You shouldn’t move pages around because it just makes you continue to search for perfection rather than learning to use your planner the way it was designed.
Obviously, this doesn’t sit right with me. If I can’t customize it, I won’t use it. No one’s gonna tell me what way is the “right way!”
So you do you girl! Move those pages around and make it yours. If it has a removable binding like spiral, coil, wire, or comb, there’s nothing saying you can’t unwind it, adjust, and reinsert the spiral. It’s a pain, but it may be worth it.
I have even cut off the glued edge of a perfect bound book. Then had it rebound as a spiral. Actually that was done at an office store, I believe. I’m not sure I’d have the heart to cut off the binding of a hardcover book, but I’m not gonna say it isn’t possible.
If you are intimidated by changing binding yourself, I highly suggest talking with someone from a printer or office store that does this sort of work. They will help you figure out your options.
While there are many ways you can customize your planner, changing the binding may be the most revolutionary option in my opinion.

4. Add pages you like
Sometimes planners need a little extra help. Adding in pages you like may give it that special boost to make it work for you. Some bindings make this easy. If you don’t have a binding that easily allows adding pages, you can tape a page over top of another page you don’t use, or inside the front cover.
You may have some certain pages you have designed that you love. Or maybe you found a few printable pages on the internet. Wherever you get the pages, if you have something you know works, there’s no reason you shouldn’t be including it into your planning system.
5. Move pages around
Changing the order of pages in your planner can be a wonderful way to help give you some customization to your planner. How your planner is bound will affect the ease of this.
Disc or 3-ring binding gives itself easily to moving around pages. Other bindings may be more difficult but not impossible, like spiral, coil, comb, or wire. These can be removed then put back in. More permanent bindings may need to be changed in order to change the page order. See the above section called “Change the binding” for ideas on this.
Some planners come with all 12 monthly pages altogether rather than dispersed with weekly spreads between. Some people like this, while others would want to change this. You could also want to go the other way and move pages that have been dispersed throughout the planner into one section at the back of the planner.

6. Adjust section titles
Planners are typically divided into sections. Pages tend to have titles for each section of the page. You may have sections for notes, goals, habit tracking, house chores, or a menu. Homeschool Planners may come titled by school subject. If these pre-determined titles don’t work for you, then change them!
Here are some ways you can adjust these titles:
- Cross it out and rewrite
- Use white out
- Cover with a sticker
- Put washi tape over it
- Apply a blank mailing label
- Glue paper over top
- Tape paper over top
- Place a sticky note over
- Skip the section altogether
Many people can get stuck in their perfectionism and feel they have to conform to the box that is the planner. But it’s your planner now, so make it work for you. Adjust the titles and use the section for another purpose that works for you!
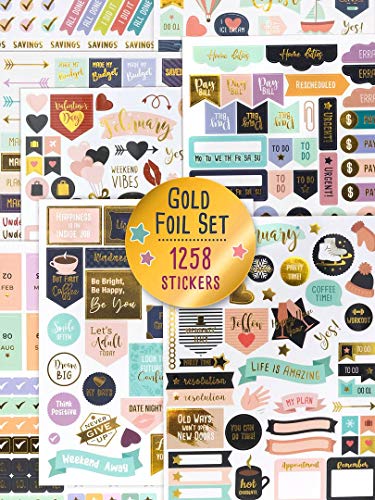
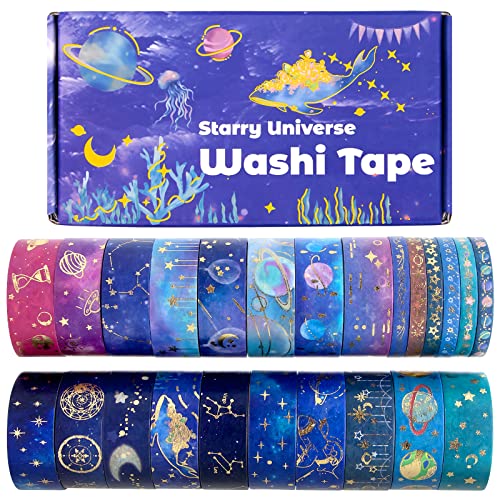
7. Apply stickers and Washi tape
There are many ways to dress up a planner and make it yours. Many do this by using fun stickers and washi tape. These items aren’t just for decoration though. You can buy some that are very practical and helpful for planners.
When most people think of stickers, we probably think about the stars that were on our school papers as a kid. Or scratch and sniff that we traded. Or maybe the random stickers our kids like to put on EVERYTHING. But stickers now days can be so much more!
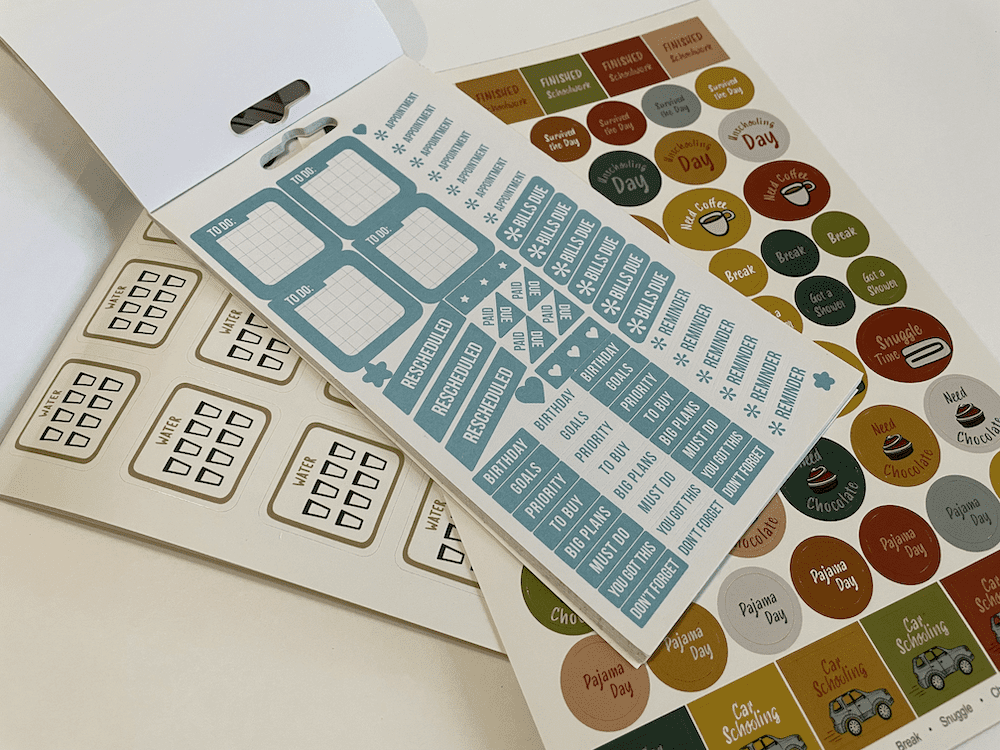
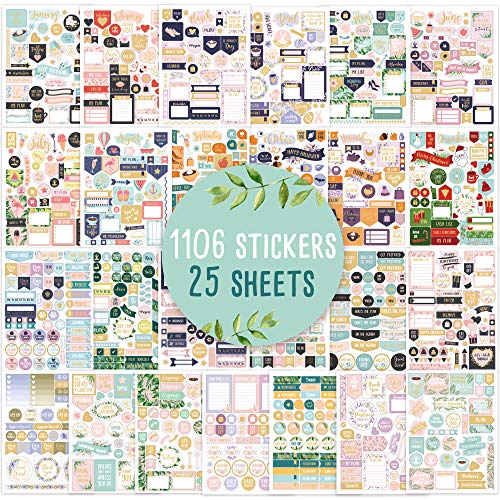
Stickers are made specifically to use in planners now. You can get them with the days of the week, to-do lists, reminders of all sorts, and even encouraging words. Stickers aren’t just for kids anymore, but can be hugely practical, helping you to easily customize your planner!
Here are some stickers I have seen for planners:
- Months of the year
- Days of the week
- Shopping list
- Habit tracking
- Menu planning
- Goals
- Checklists
- Financial reminders
- Workouts
- Holidays
- Encouragement
- Fun
- Self-care
Check out these fun sticker packs and washi tape:


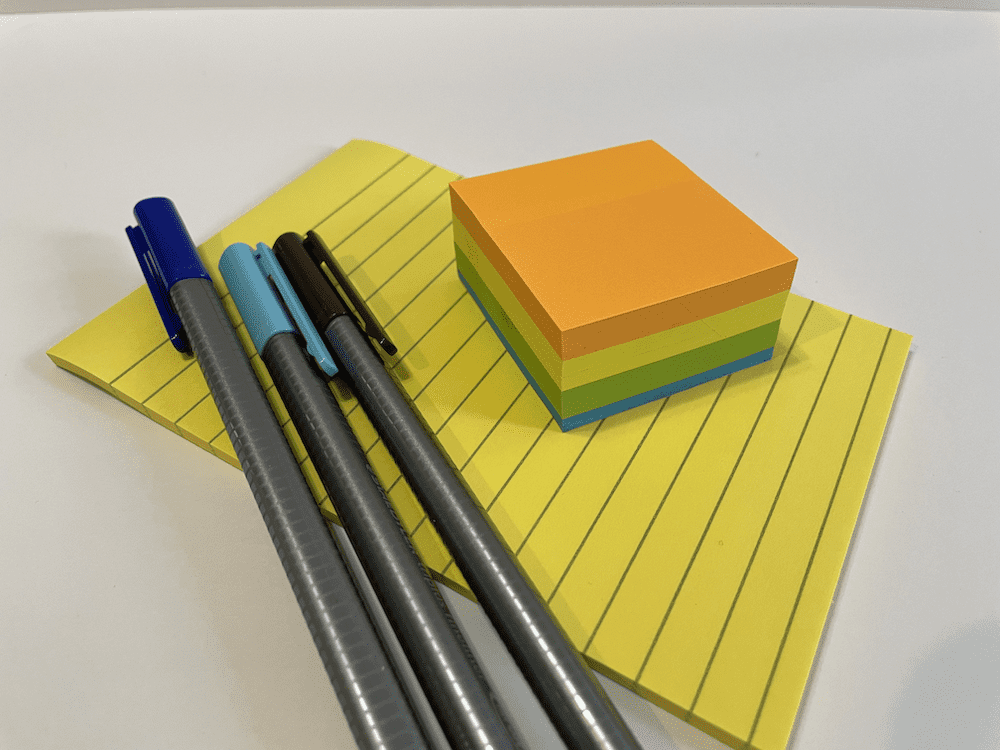
8. Utilize sticky notes
Sticky notes are an easy way to quickly throw a new list or idea into your planner. They can be used to replace sections you aren’t using. Or as an easily movable and non-permanent section.
I have seen some weekly planner pages with a blank box just the size of a sticky note. The idea is that you use a new sticky note each day for your list in that section. This way you have a more concise weekly planner page with a little more flexibility for each day.
Sticky notes could be used as a general to-do list or brain dump. You could write everything on your sticky note, then once it’s all out of your head, easily assign each item to a certain day or space in your planner. The sticky note can then be thrown out.
I have also used sticky notes for project lists. A list of things that are ongoing, or that maybe I haven’t yet found time for that need to get done. Like organizing that closet or doing an online training.
I wrote out the list once, then each week I can include it in my weekly section and cross things off as I do them without having to flip pages or re-write a list over and over.
In a similar way, you could use a sticky note as a reminder for a daily routine you are getting used to. Write it once and use it for reference week after week, moving and re-sticking it to a new page as you go. I like the super sticky ones for this purpose.
9. Use pages separately
Planners can get really bulky if you want to include a lot of pages. It can also be difficult to use a large planner on the go. One solution to this is to use some pages separately.
I tend to encourage keeping all your plans in one place so you don’t miss things, but staying on top of everything usually requires you to bring your entire planner everywhere you go. This is somewhat easy if you use a digital planner and always have your phone with you. But for those who prefer paper, this can be a task.
So here are some ideas for staying on top of your plans and continuing to have easily accessible minimal plans when needed.
- Keep your monthly calendar pages easily transportable with an online calendar. Or use a small minimal calendar with only monthlies. This allows you to access appointments and general scheduling while out and about. Just be sure to “sync” your calendar with your home calendar often if you use both.
- Keep your shopping list and meal planning in a separate book. Then take only that book with you when you shop. This may mean you’ll need to separate these pages from your general planning pages or find others to use. For ideas on removing binding, see the above section called “Change the binding” for ideas.
- Keep everyday pages separate. Another option would be to use your regular planner for longer term planning and tracking and keep your everyday planning pages separate. Many place these pages in a clipboard. Keeping only a few important pages easily accessible can help with bulk.
- Use removable binding with less pages. As mentioned earlier, my current planner is disc bound. So I can easily move around pages and take them in and out as needed. Because of this ease, I only keep 3 months worth of pages in my planner at once. This makes for a much less bulky planner. A planner that is in a 3-ring binder would also have this ease.
- Keep homeschool pages separate. Many homeschoolers keep their homeschool planning and tracking pages separate from their other planning pages. Another way to cut down on the bulk of a planner.
As you can see there are tons of ways you can separate the pages of your planner into more manageable chunks. Do some thinking and experimenting and see what works for you.

10. Clip in a dashboard
Dashboards are somewhat new products in the world of planners. They are basically bookmarks that clip into the spirals or discs of your planner. Some are just decorative, and some are more functional, adding more writing space.
In its basic sense, dashboards are bookmarks that won’t fall out when clipped into your planner. They kinda just pop around the spirals. But they are easily removable still by just popping them back off. They can help you to mark frequented sections in your planner when clipped in without being permanent.
I like to use a dashboard to bookmark the current week in my planner. Since this place often changes, a dashboard is really helpful since it is easily movable.
A dashboard is also a really easy way to add another movable and/or removable section into your planner. Many dashboards are made of plastic, but some are paper and include other usable sections useful in a planner. Like menus, daily lists, to-do list, or shopping lists. You can also find dashboards that are wet/dry erase.
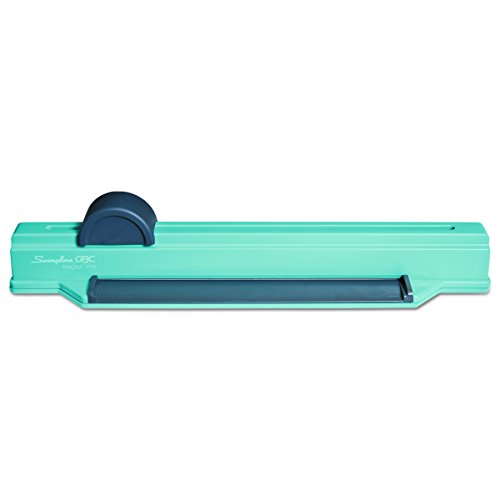
For those with disc planners and a disc punch, you could easily make and print your own paper dashboards to add to your planner!
Check out these great dashboard options:


11. Write on a bookmark
For planners that are bound like a typical book, bookmarks can be useful additions to your planner. Not only can they easily mark your spot in the planner, but they also double as extra sections of your planner.
You can use them for daily plans, shopping lists, menu planning, to-do lists, project lists…. the options are endless! You can buy them or make and print them yourself for extra customization!
Here are some basic lists you could easily use as a bookmark:


Closing
Before scrapping your planner and giving up, I hope you’ll consider some hacks you can use to customize your planner to fit your needs. By adding or removing pages or sections, changing the binding and moving pages, adding some stickers or tape to make sections work, or using some tools like sticky notes or dashboards. There are many ways you can make any planner more functional and personalized.
Try some of these ideas with your homeschool planner today and let me know your favorite hack in the comments!
Related Posts
Make your homeschool curriculum work for you